Send As Feature
You have these options to choose from when sending a Swiftpage emarketing email campaign out of Sage SalesLogix (see explainations below).
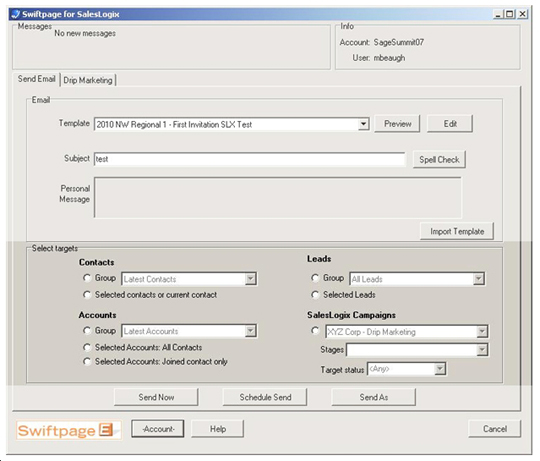
Select Targets
Contacts
Group (Your custom queries will always be shown in the drop-down menu): This option targets all contacts from chosen Contact group.
Selected Contacts or Current Contact: This option targets only the selected contact records in your current Contact group.
Accounts
Group: This option targets all contacts of every account in chosen Account group.
Selected Accounts: All Contacts: This option targets all contacts in every select account in an Account group.
Selected Accounts: Joined Contact Only: This option targets only the contact visable per record for entire Account group.
Leads
Group: This option targets all leads in chosen Leads group
Selected Leads: This option targets all leads from current Leads group.
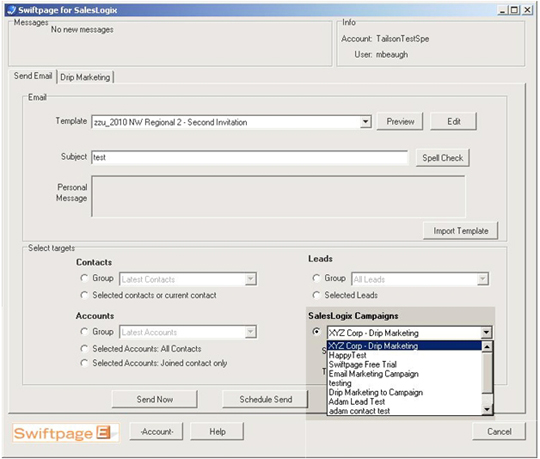
Campaigns
The user can select which campaign in SalesLogix contains the contacts that the email will be sent.
Also, the user can select a stage within a campaign to send the email as well as the Target Status.
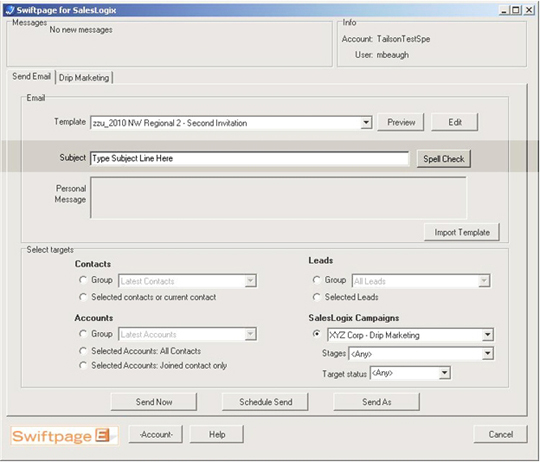
Email to a SalesLogix Campaign
After creating a target list in your SalesLogix Campaigns, you will have access to send to this list from Swiftpage emarketing Email. All you need to do is select the specific campaign from the drop-down menu. You may also filter by Stages and Target status.
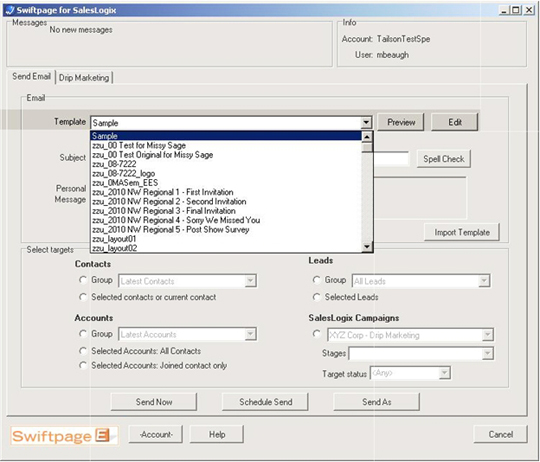
Select Email Templates to Send
Choose which email template you want to send from the drop-down list. This list will show you every template that is in your SwiftPage Email account. Whichever email template is selected will be emailed, you may preview it by clicking the Preview button to the right.
Type Your Email Subject
Type in your email subject in the field provided that you want to accompany your email.
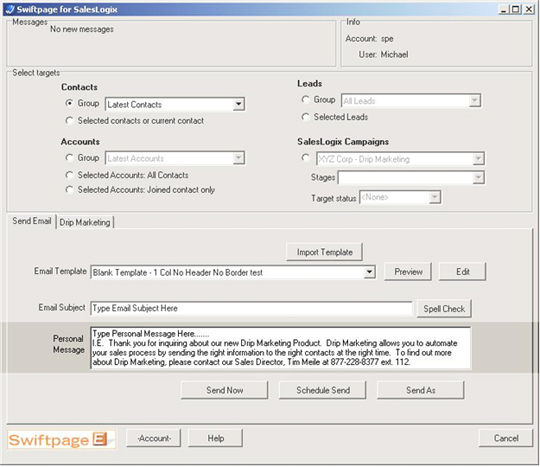
Type a Personal Message (Optional)
The Personal Message box allows you to change/add messaging "on the fly". If your email template has the mail merge tag: [[SpePersonalMessage]]. If this mail merge tag is within your email template, it will allow you to type in a personal message in the box highlighted below. The Clear button will clear all text in both the subject field and Personal Message Box.
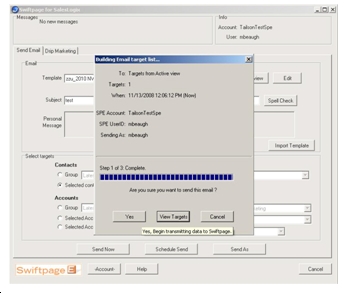
Send As Feature
Note: All SalesLogix users that want to be able to have email sent on their behalf will need to have an active UserID inside of their Swiftpage emarketing Account and must be mapped to the SalesLogix User.
Click on "Send As" and choose Sender value
SalesLogix User: Allows you to send on behalf of another SalesLogix User.
Account Manager: Allows you to send on behalf of the Account Manager for that contact or lead.
Custom field: Allows you to send on behalf of a SalesLogix user associated to a custom field.
Choose delivery time:
- Now
- Schedule
Enter in Account Password and hit the "Next" button.