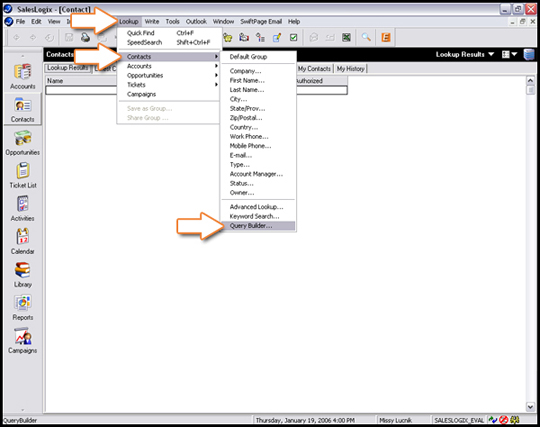
Use a Query Search to Create a Swiftpage emarketing Call List
Navigate to Query Builder
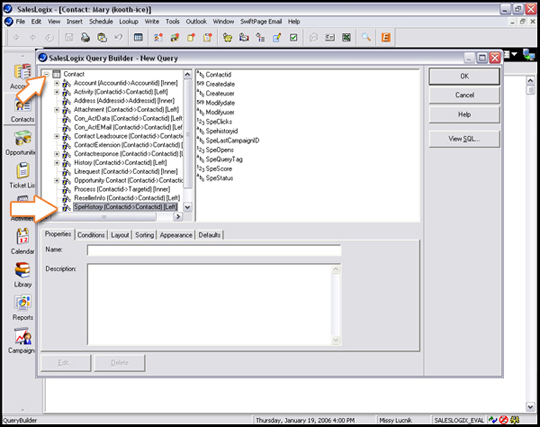
Select SPEHistory
In the top-left list box, expand "Contact", scroll down and select "SpeHistory". You should see the screen below:
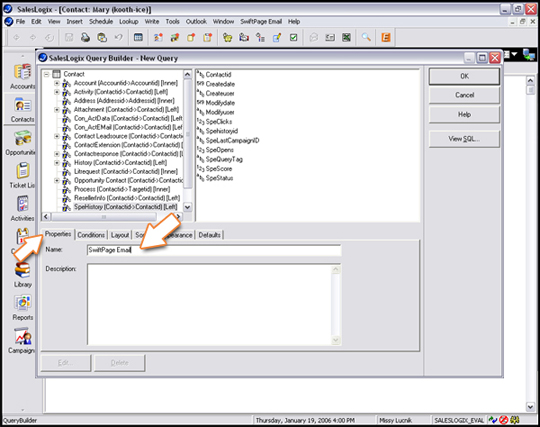
Click on the Properties Tab
Click on the Properties tab and type in a name for this quiery.
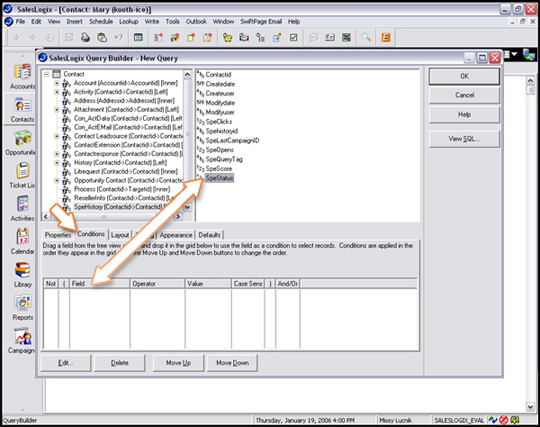
Conditions
Click on the "Conditions" tab, then click on SpeStatus and drag it to the Field Column (a window will pop-up to Assign a Condition when you do this action).
Assign Condition or Assign Condition for a Specific Campaign
Assign Condition:
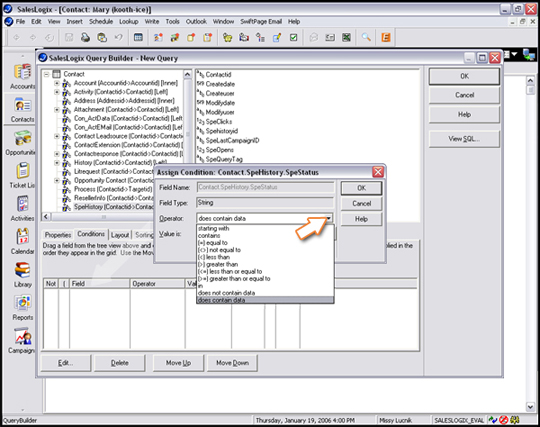
The window that pops up will need you to assign a condition. (for more specific searches, you can set Operator to "(=) equal to" and for "Value Is" click Browse and select an option). When finished, click OK.
Assign Condition for a Specific Campaign:
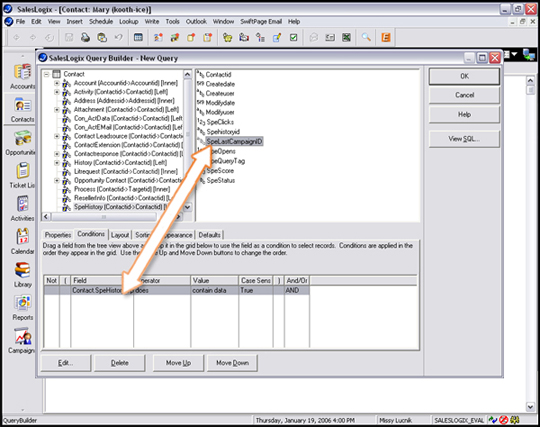
Click and drag "SpeLastCampaignID" from the top right window into the Field column. A window will pop up to assign the condition. From the drop-down menu, choose "contains". Click on the Browse button, choose which campaign you would like to query on. When finished, click OK, and then OK again.
Layout Tab
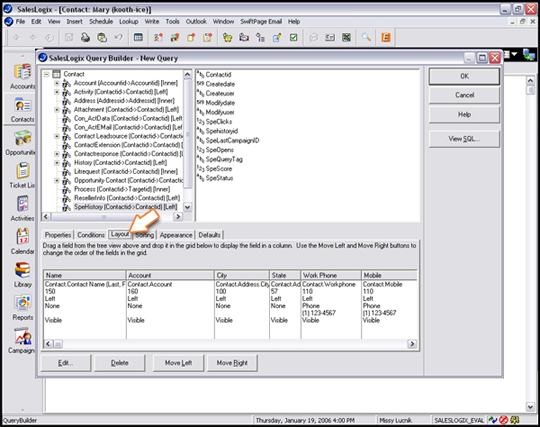
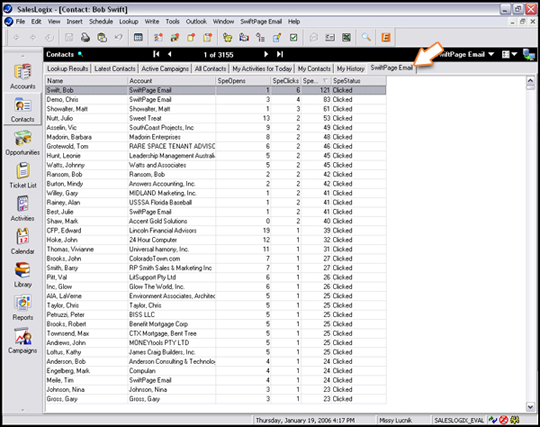
Click on the Layout tab and then click and drag any of the remaining fields you would like to view in this query from the top right box down to the Layout tab:
Reccommended fields to bring down, in order:
a. Name
b. Company
c. SpeQueryTag
d. SpeStatus
e. SpeScore
f. SpeOpens
g. SpeClicks
Organize the fields how you would like to view them, you can:
Change the order of the fields by clicking on the Name and dragging it to a different location
Right-click on field name to choose justification of text in column
Resize columns by clicking on lines between columns
When finished, click OK.
Sort Tab
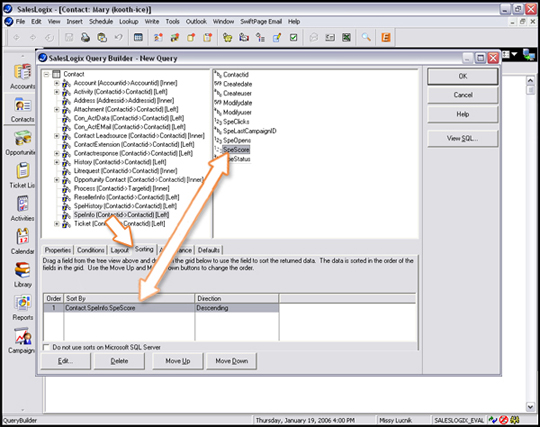
Click on the Sort tab then click and drag how you would like your query to be sorted into the Field column. Right click under the column "Direction" to select either an Ascending or Descending order. Click OK when you are finished.
Finishing
Your screen should show a list of contacts given the conditions you set with the fields viewed, with the name of the tab being the name of the query you set.